
Today we’re making Dryer Sheet Flowers in a shabby style! This is an easy tutorial, and I’ve included all of the steps with tons of pictures in this post to guide you along!
These flowers, once transformed, look like they’re made out of tulle or a very sheer fabric!
Overview:
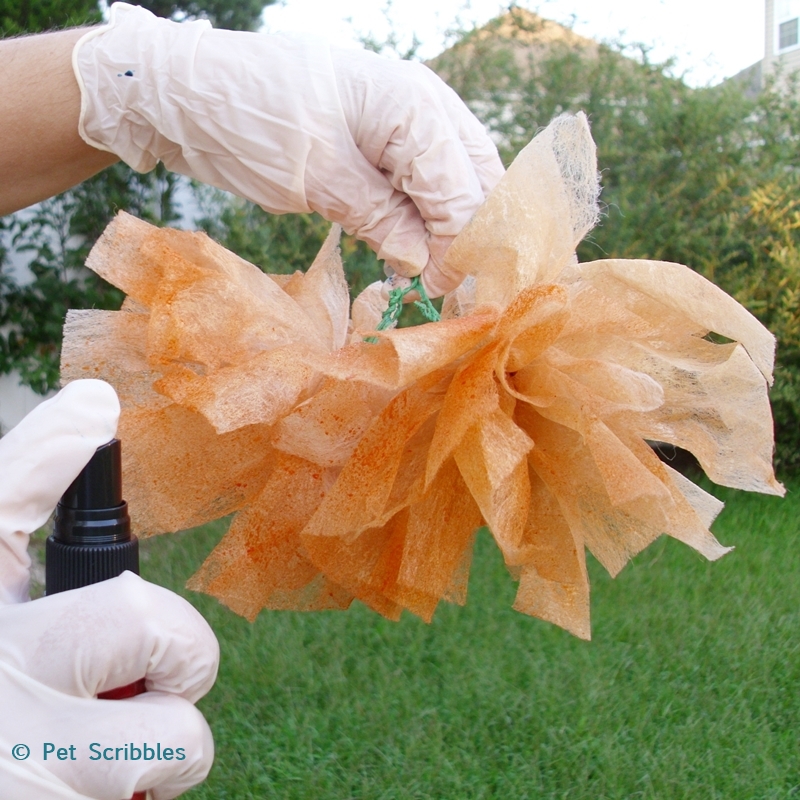
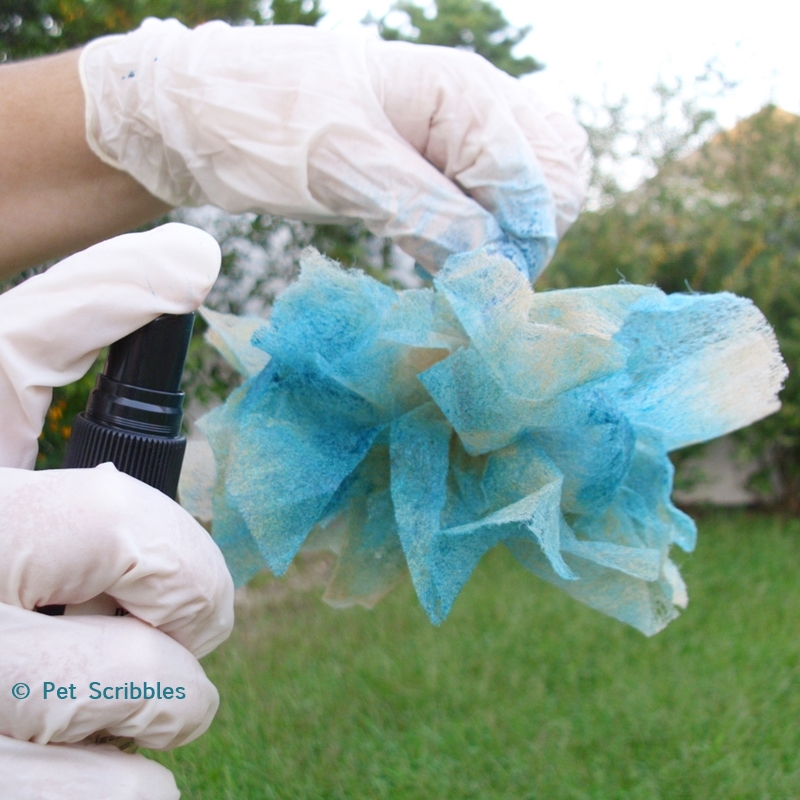
It all starts with used dryer sheets, which is a great reason to do the laundry. “Honey, I need to do laundry so I can craft!” The dryer sheets will be tea-stained first. After making them into flower shapes, I’ll dye the dryer sheets with spray ink dyes and add some glimmery goodness. After I dry the flowers with a heat tool, I’ll have lovely shabby-style flowers!
Supplies:
Dryer Sheets (used)
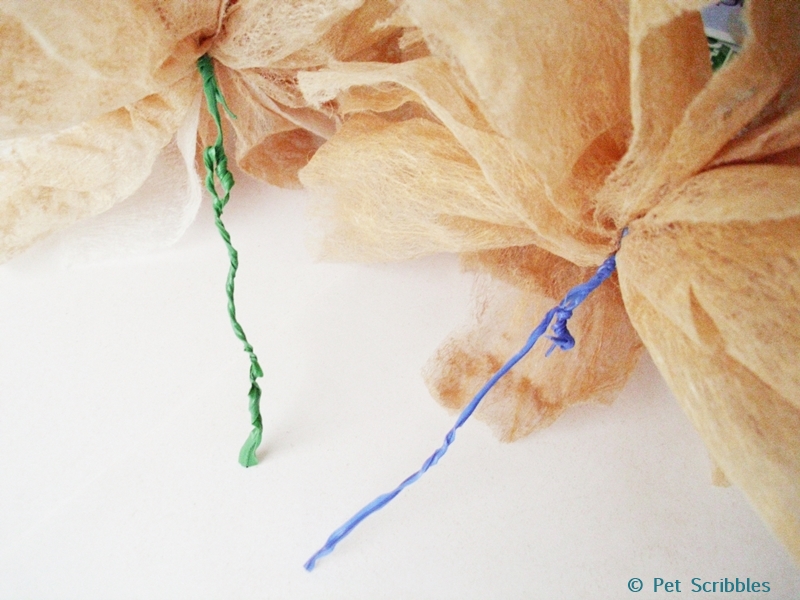
Wire twisty-ties (like what keeps your bread bags closed)
Scissors
Rubber Gloves
Tattered Angels Glimmer Mist in pumpkin spice (orange) and dragonfly (aqua/teal)
Perfect Pearls Mists in heirloom gold and perfect pearl
Tutorial:
1. Do some laundry. Yes, now laundry becomes fun, doesn’t it? You have a purpose beyond simply insuring there are clean clothes. Now you are beginning to hoard to start your collection of used dryer sheets.
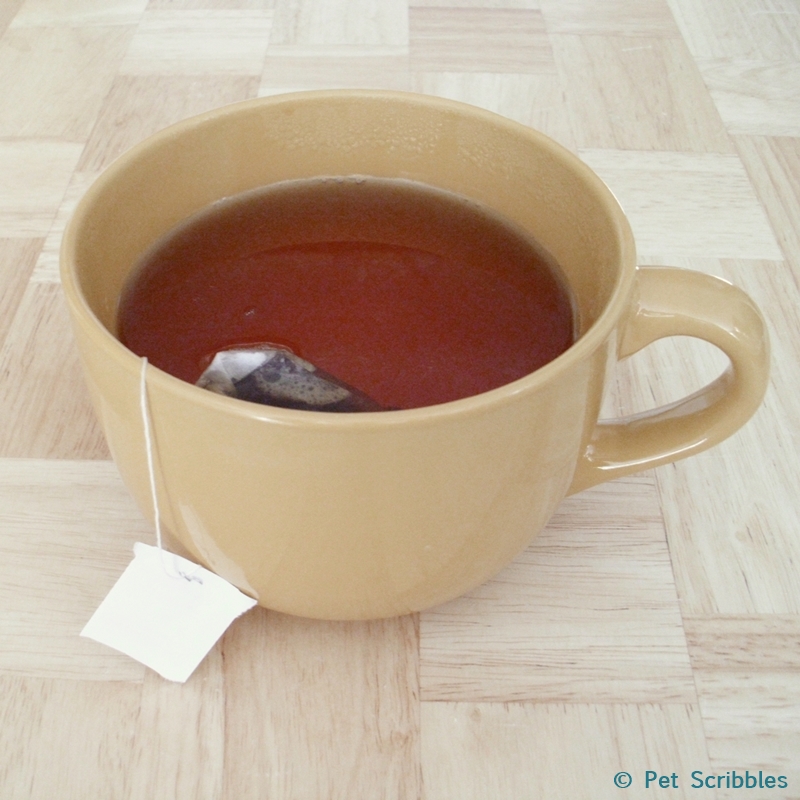
2. Make two cups of tea. The first cup is for tea-staining (I think I just made that a verb?) the dryer sheets. The second cup of tea is for you to enjoy. (After all that laundry, you deserve it, right?
3. Dye the dryer sheets with the tea. Once the tea has steeped for 5 minutes (to get the color nice and rich), remove the tea bag. Place the used dryer sheets into the tea bath and use a spoon to make sure they are immersed into the tea. (I’m using a giant mug that doubles as a soup bowl, but you can’t really tell from these pictures. And yes, I drink my tea out of a giant mug because I need all the help caffeine I can get!)
4. Let the dryer sheets sit in the tea bath for about 10 minutes. Keep in mind that these sheets are delicate, so use a spoon to gently lift them out of the tea bath one at a time. Place each one on a paper towel to dry.
You’ll notice how textured the dryer sheets now look, with the tea staining some parts more than others. For a truly shabby look, you could use this (the tea stain) as your finished color of the flowers. So many decorating possibilities!
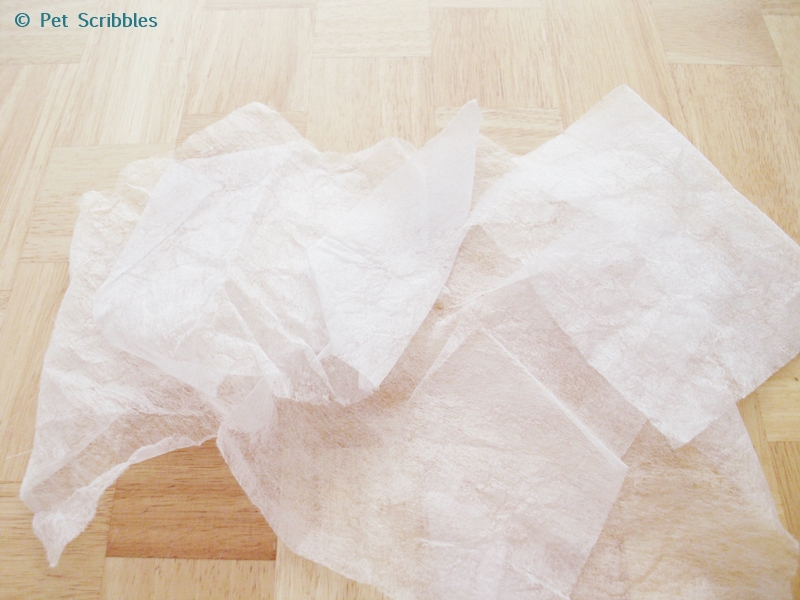
5. Once completely dry, this is what your pile of dryer sheets should look like:
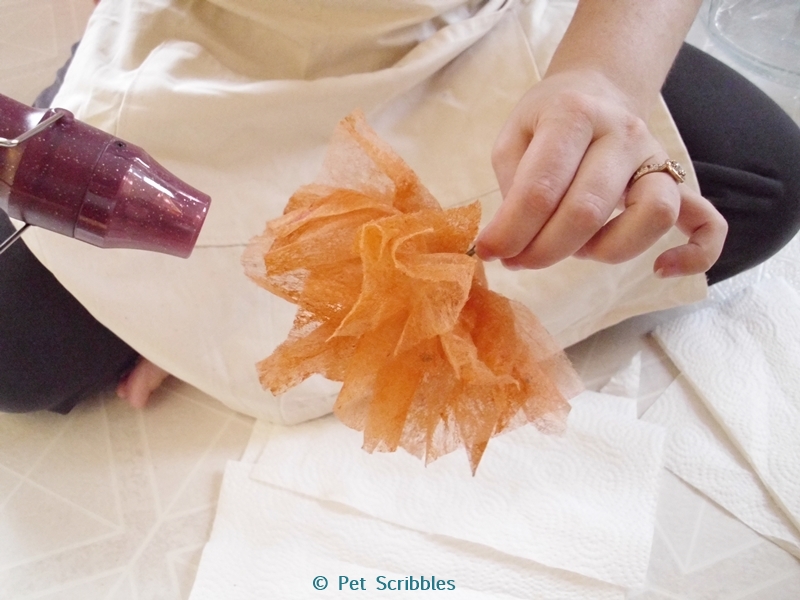
13. Repeat the heat tool step for each flower. I actually spend quite some time on this step, repeatedly picking up each flower and “heating” several times. Again, you will know when you’re finished with this step: it is as simple as stopping when you like how it looks.Here’s the flowers dried and curled:
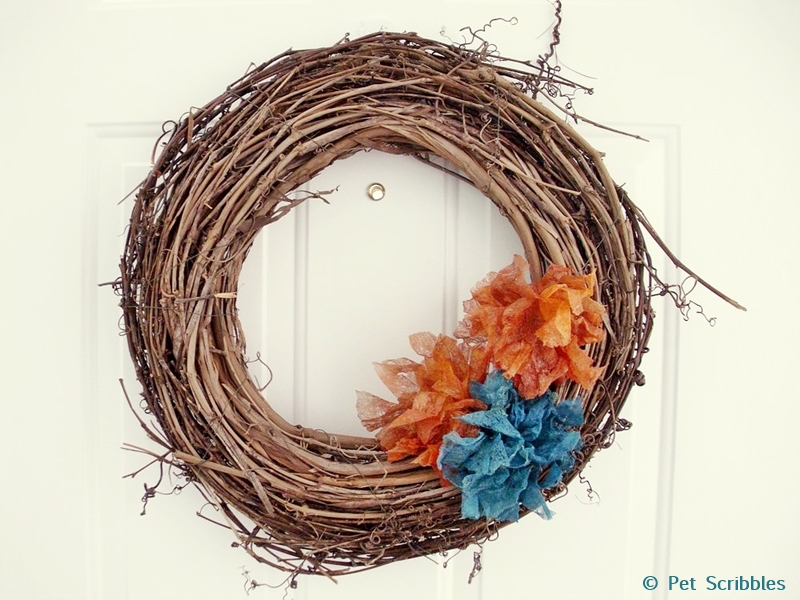
Here’s a closer look:
~Laura
Related Posts








These are adorable and so easy…I actually have jars of used dryer sheets…some dyed already, some just white waiting for the perfect project…This may be it. Thank you!
And let me know if you do come up with something that inspires vacuuming…
Best Wishes…
Brooke
Ooohhhh Brooke – I would LOVE to see your dyed dryer sheets, especially as you have jars of them! How lucky you are! 🙂 Please share a picture if you make some – I’d LOVE to see!
(And no, so far I’ve had NO luck on any way to inspire vacuuming!)
Laura / Pet Scribbles recently posted…Polka Dot Tissue Paper Flowers (big!)
Love this idea!!! What kind of ink dye did you use? Does food coloring work?
Thanks Eileen! The spray inks I used to dye the flowers are by Tattered Angels. If you scroll back up to the supplies list in my post, you’ll see the complete name – click on that to be taken to their website where you can find more information. You can find these types of inks at most major craft stores. I’m not sure if food coloring will work, as I’ve never tried it. 🙂
Laura / Pet Scribbles recently posted…Fall Decor: Pumpkin Cookie Cutter Garland
I’ve used batting and vacuum dust bunnies to line my small grapevine bird nests, plus the real birds appreciate the soft bunnies to add to their real nests.