Today I’m sharing a Popsicle Stick DIY: make your own pallet art!
This project is one of the first tutorials I did on my own blog. Although this project was done two years ago, it still remains one of my most popular projects! It’s an easy alternative to making your own pallet art, especially if you want a smaller size. This project measures just 8″x10″ — a perfect size for your wall or mantel.
Let’s get started!
Supplies: Jumbo craft (popsicle) sticks, blank 8″x10″ canvas, assorted colors of acrylic craft paints, sanding block or sandpaper, paint brushes, paper towels, stencil for letters, strong glue.
Popsicle Stick DIY: Pallet Art Tutorial
1. Cut the rounded ends off of each popsicle stick, and place in position on your canvas. All you’re doing in this step is seeing how many you will need. You aren’t gluing anything down yet.
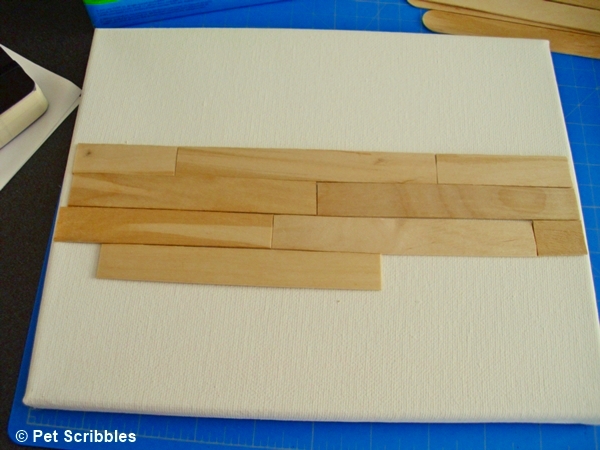
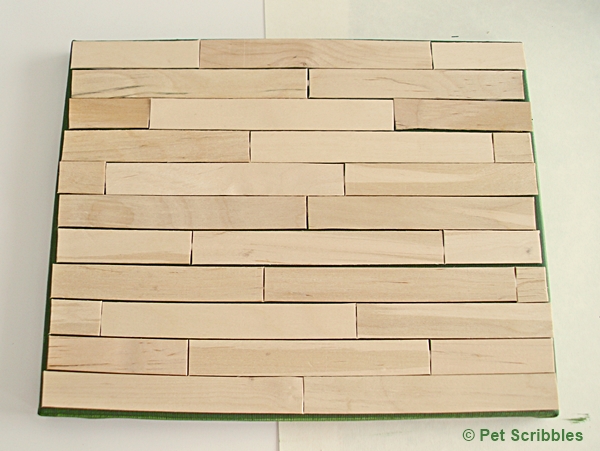
2. Once your canvas is covered, cut the popsicle sticks into different lengths so they will look more like a wood pallet when glued together. Cut some sticks into two pieces, cut others into 3 separate pieces. There’s no precise method. Place them onto the canvas in a random order.
3. Once you have positioned all of your pieces, it is time to paint your canvas the same base color that your craft sticks will (eventually) be painted. (I chose a greenish-olive color.) The painted canvas serves as the support underneath the pallet art.
Helpful tip: I bought a 2-pack of canvases, which came in handy. I used one canvas to keep my popsicle stick pattern in place, while I painted the other canvas. This way, I didn’t lose the pattern I had mapped out.
I painted two quick coats. Let dry.
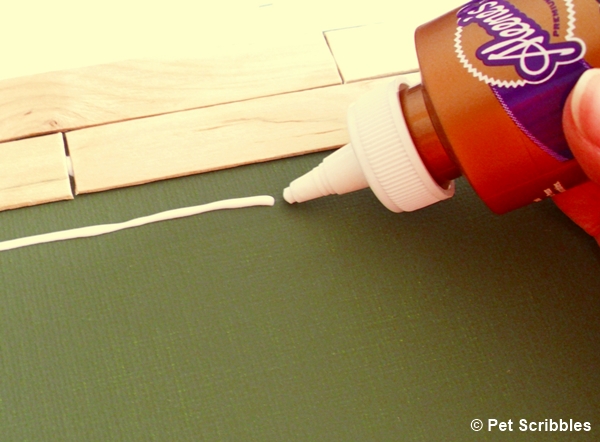
4. Glue the popsicle sticks onto the canvas, keeping the line of glue toward the “center” of each row, so that any glue seeping out is minimal. I used Aleene’s Turbo Tacky Glue.
Once all sticks are glued down, let everything dry.
(For the remaining steps, I’m going to call this “the pallet” from here on out.)
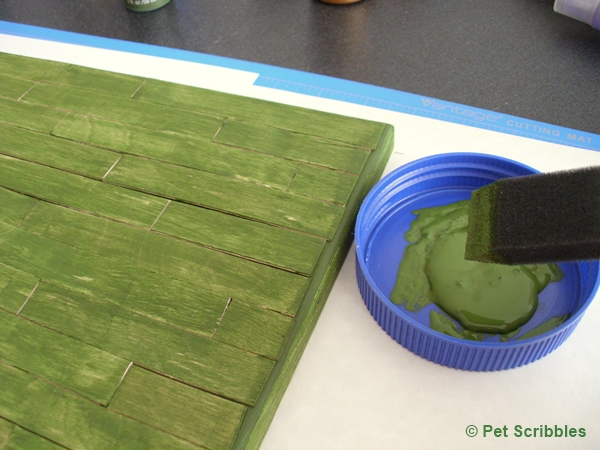
5. Paint two coats onto the pallet using the same paint you used to paint your canvas. Let dry.
6. Lightly sand the surface of your pallet.
7. Take at least two other colors of craft paint and dry brush those colors onto the pallet.
I chose a very pale pink, and brushed that over the green…
When the paint was almost dry, I brushed on some bright aqua paint, covering about three-quarters of the pallet, then immediately wiped most of the paint off with a paper towel.
Next I did the same thing (brush on, wipe off) with the green paint.
Then I made a wash of navy blue (basically a mix of the navy blue craft paint heavily watered down), and brushed over the entire pallet. After letting it sit for about 5 minutes, I then wiped that layer off.
I kept repeating this process – painting on different colors, wiping off, etc. – until I was satisfied with how it looked. Have fun with this step!
The look I was going for was an old pallet that had been painted over many times in its life.
Helpful tip: If you get any “glops” that don’t want to sink in between the pieces of wood, just take the edge of a post-it, run a corner of it in between the slats, and voilá: the glop is removed!
8. Sand the pallet down very well, which will further blend all the colors together and will give it an old, distressed look. Wipe the pallet with a soft cloth to remove any dust. Then decide if you’re satisfied with the final color, or if you want to add another layer, or just a few bits of one color here and there.
Helpful tip: Make sure to also paint the sides of your canvas to match the pallet. You can also cut up more craft sticks and attach them to the sides, then paint.
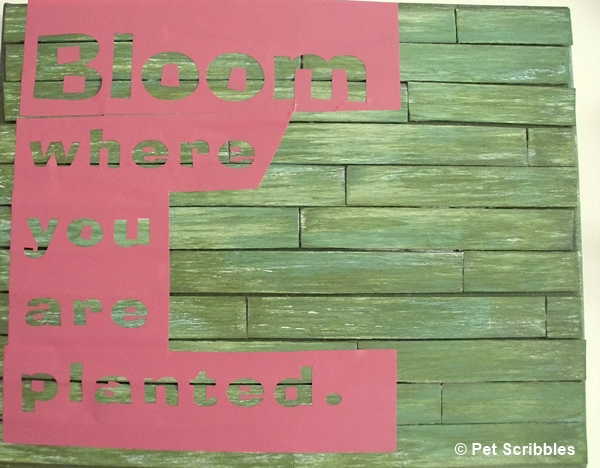
9. For the words, use letter stencils, or make your own stencil out of vinyl. I made mine with my Silhouette Cameo. I weeded the letters off the vinyl, and then adhered the “outline” of the letters onto my pallet:
10. Using a pouncer, lightly paint inside each letter with pale yellow craft paint. Remove the stencil while the paint is still wet. Touch up the letters with a tiny paintbrush if needed. Let dry.
11. Sand the entire pallet lightly — words included. Wipe away any dust with a soft cloth.
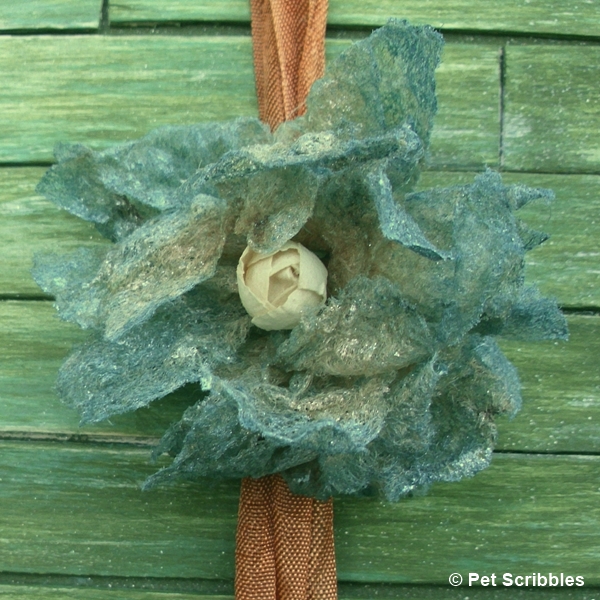
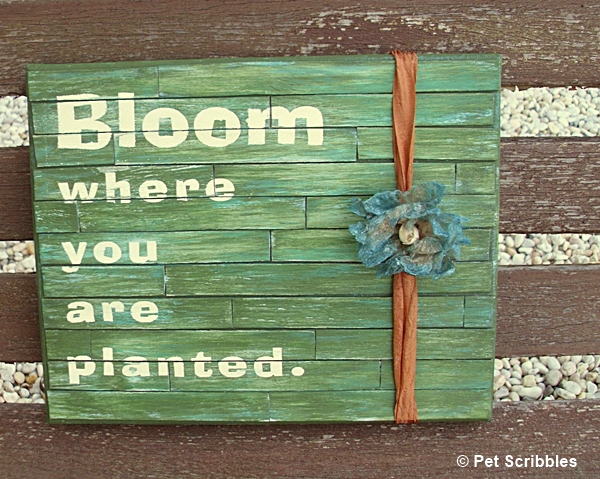
12. Add any embellishments. I added a strip of vintage seam binding and attached a dryer sheet flower that I made. I glued a tiny paper rose (which I purchased) in the center of the flower.
(Learn how to make dryer sheet flowers in this tutorial here on Deja Vue Designs.)
13. Attach pieces of felt to the back of the pallet art, to prevent scratching your walls, whether you hang it up or lean it on a shelf or mantel.
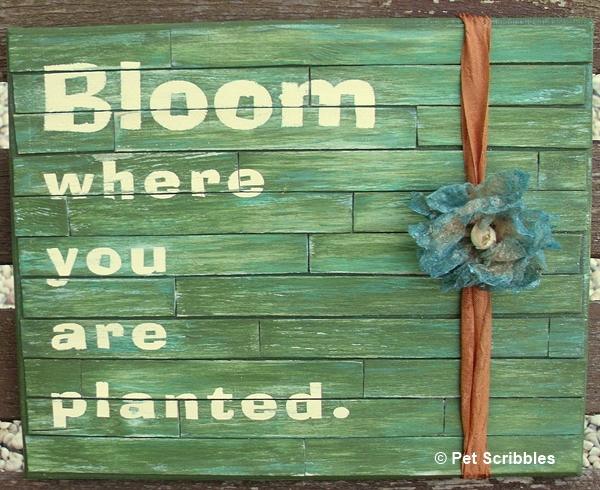
And now you have a pretty piece of (faux) pallet art to enjoy!
I love the way this turned out, and I don’t think you can truly tell this was made with simple popsicle sticks.
What do you think? Can you tell?
Happy crafting!
~Laura
If you like this post, I’d love for you to use the buttons below to share it via social media!
Related Posts












Leave a Reply